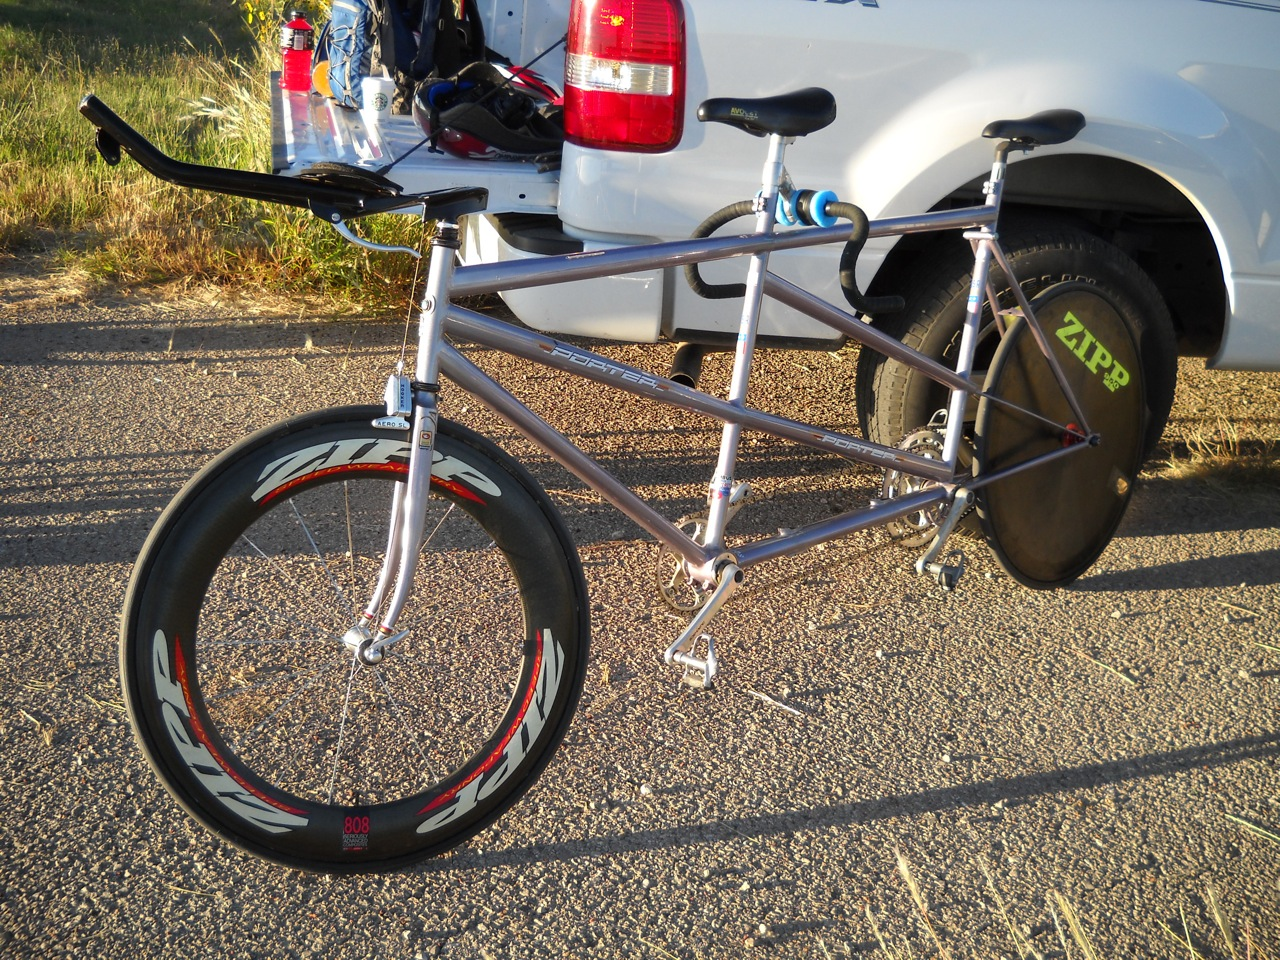
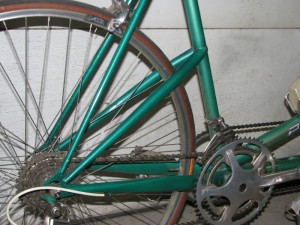
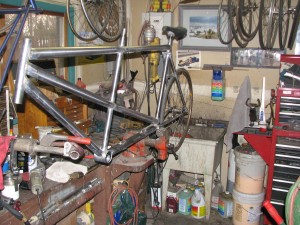
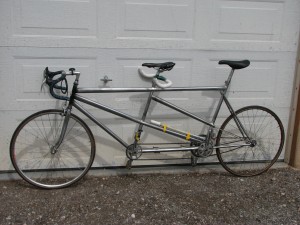
Nearly 20 years ago I built this tandem as an experiment. It was made from Columbus MAX road bike sets and a generic oval boom tube. Here’s a picture of it’s current dirty-dusty state, in the equally dirty-dusty crowded frame building corner of the shop. (Click/double click on photos to enlarge)
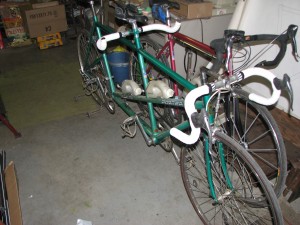
As you can see, it has old components, Mavic drive train, down tube shifters (7spd freewheel), Campy brakes, no name levers, in other words it’s just equipped for general around town riding. It does have track dropouts with a derailleur hanger. But, it’s main intended purpose was for track use. Perhaps, you’ve heard my story about Track Nationals, the USCF, and this frame set. I’ll add a condensed version of the story later.
(The story)
When Columbus MAX was first introduced I just fell in love with it. Light and strong and steel.
So, I decided to build a tandem with it, even though it was not recommended. Well, it was amazing. A little over 30lbs and wicked acceleration with a couple strong riders.
So, I thought I’d ask the USCF Nat. coach if he had any interest in using the tandem at Nats which were being held at Trexlertown that year. He said “yeah Dave get it to so and so in San Diego”, as they were the two hot tandem riders. I duly delivered the bare frame to these guys and drove back to NM.
In those days the only source of racing news was Velonews. When I read that the tandem these guys were riding at Nationals had broken and they had to borrow one it was a huge slap to my reputation/ego. Or so I thought. Well,…as it turned out, these guys had never even assembled or ridden my tandem…. Slap number two.
I tried for over a year to get the frame back. I finally sent the USCF an invoice for $6000.00 and it miraculously appeared back at the shop.
Needless to say I was miffed that after all my expense and effort it remained untested. So, at the next Nat. road TT in Moriarity, NM, I added a derailleur hanger, shifter bosses and brakes and gave it to a couple of the shop team riders for the event.
Result..gold medal. Every event its entered since then it has won gold, except the last when the age graded riders missed the gold by 9 seconds. (90+) It still holds the National record for Cat I men. 44 minutes some seconds set in 1992 I think..
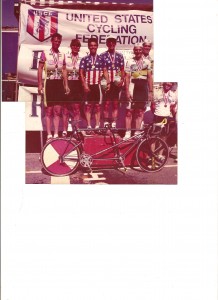
National Tandem TT champs
Very cool I think and great redemption too. It’s been used by juniors, seniors and mixed gender too.
Well, that’s the story.
I was just rooting through my desk drawers and found this letter. Funny, I don’t remember the check, only the frame coming back. I don’t remember, it gets worse with age..
Click here tandem-fiasco
click back button to return to blog..
It’s a very compact design, due to the fact that the MAX tubes were made in only road bike lengths. It’s a 75 degree HT, 74 degree Captain’s ST and 72 degree Stoker ST. Wheelbase is 1645mm and the boom is 615mm. BB height is 10 1/2″ rear, 11 1/2″ front BB. Captain’s seat tube is 56cm, Stoker is 57cm and top tubes are 58cm and 61cm respectively.
The stem is a custom adjustable length and employs a “stayer” brace of Titanium. The fork is one of my signature “aero” designs and has special skirts at the drop outs for wind drag issue.
Since building this one, there have been more huge leaps in the steel technology available for bicycles. So, since the economy is slow, meaning my automotive restoration business, I decided it was time to test some new materials and to try out the new tandem jig, which in a previous blog story I explained building a single frame on.
I’ll do the same for this new tandem in the following entries. “Squirt II” (authors note: It seems to make the project more tangible when it has a name)
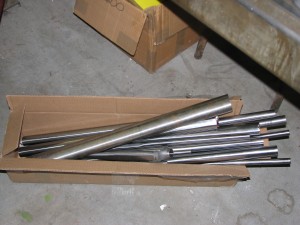
Yikes! Here’s over $800 bucks of raw materials..
and here is the jig configured for a tandem build.
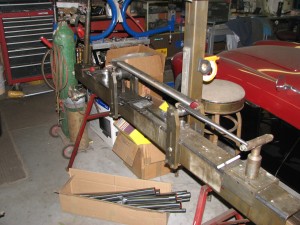
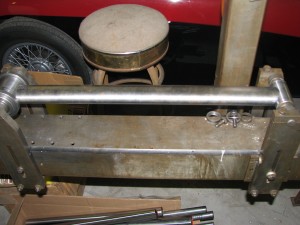
Ready for the first two welds.
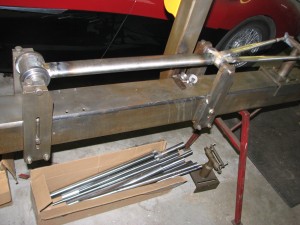
The “keel” is laid. This stage forms the backbone of the tandem frame. This stage was done using brass. This was done so that when the seat tubes and down tube is added I can use silver and not disturb the older welds. All of these five pieces shown are the thickest wall and not much bothered by the additional heat.
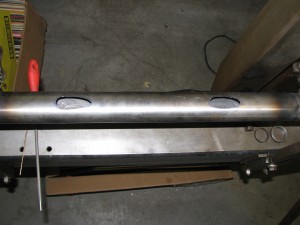
Oh My God! There I go again. Cutting big holes in a perfectly good boom tube. What was I thinking??
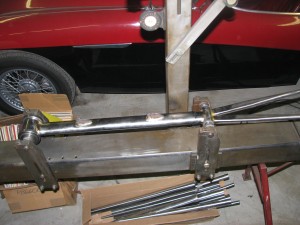
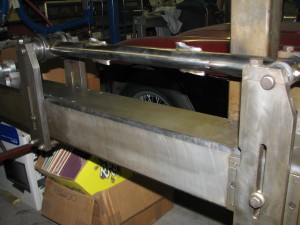
Here’s what I was thinking. I made two slightly off set (front to rear) holes through the boom tube and inserted two wing shaped inserts. The general idea is to help resist twisting of the boom. I probably should just finish them flush with the boom, but I think I’ll let them protrude like this just to add some interest. Not much to look at on a track tandem..
In this next picture I am what one would call “committed to the steering geometry”. I will interject at this point that I am having one of the guys from the bike builders e-mail list collaborate with some of the design work. He is an engineer, I’m a self taught guy with a lot of years experience. I thought it would be interesting, at least for me, to compare notes in a manner of speaking. I’ll leave him nameless for now, to protect the innocent.
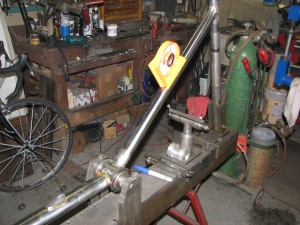
The down tube and head tube are now joined thus completing the “keel”. Everything goes up from here. These are the first two silver fillets. The next picture is for Mr. Garro. I’ve washed the flux off and just rubbed it a bit with steel wool. The head tube won’t get much, if any clean up, until the internal lateral and captain’s top tube are fitted. Those fillets will be blended together to minimize the head tube height as the tubes have a vertical dimension of 43.5mm each and I’m trying to keep the head tube at a minimum.
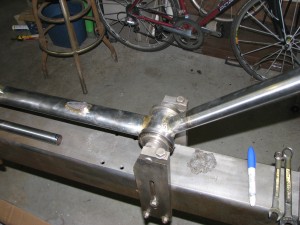
Between multiple distractions today I was able to get both seat posts welded down as well as the stokers top tube.
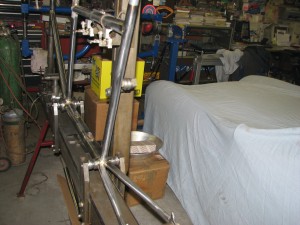
The tricky part is the top tubes. This old jig was designed for 1″ round top tubes. This Columbus tubing is 43.5 x 29mm and is 8 sided, plus the oval rotates 90 degrees from end to end. Needless to say, it would take a handful of various sized blocks to hold the tube, so I just turn the entire top tube holder assembly upside down and set the tube on it’s machined surface. A couple measurements and some old toe straps and it’s good to go.
Oh, oh! The stoker’s top tube is too short!
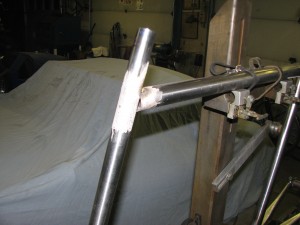
Yeah, well it was part of the plan. Really.
Like the MAX these tubes weren’t designed for tandem use. I wanted to increase the stoker cockpit over the old tandem. The captain’s top tube will appear to be pierced by the seat tube and the two top tubes will be butt welded. That will take some time and will be repeated on the internal laterals. Both the riders will have an additional 3cm of leg room, this is good.
Here’s how it works. Here is the cold fit stage.
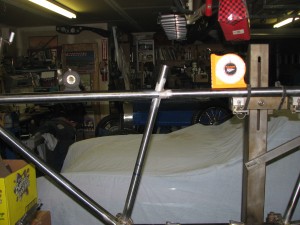
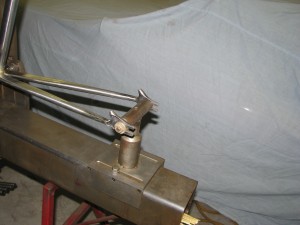
I thought I’d try these new fangled track drop outs. Already I’m thinking it was a bad decision as I want to attach 2 pairs of seat stays and there is limited room to do so. I’ll ponder it a while. There may be a clever solution, may be not.
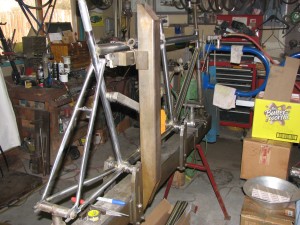
The first set of seat stays and the bridge are on and now I’m not sure that I want to add a second set as planned. The triangular chain stays are naturally rigid and the three point attachment on the seat tube is a bit stronger (?) than normal and the lower attachment on the seat tube makes a smaller triangle too. I’ll have to think about it some more. I don’t know about the rest of you but sometimes I’ll just sit there and stare at the project at hand until an idea strikes. This may be one of those instances.
It’s one of those days that looks like it will snow any minute, but still a couple of degrees too warm. So, I’ve decided to use my Sunday working on fitting the internal laterals. I have it fit up pretty close here, but it needs just a couple touch’s more to get alignment and gaps the way I need them. Since the seat tube is only 0.38mm wall thickness where they intersect, I brazed a couple of split scrap pieces on the seat tube, which I’ll bury under the fillet. I also left a larger than normal perimeter gap that I’ll fill with silver. These tubes are pretty brittle and I think if they don’t actually butt up that movement in the filler is superior to contact of the tube ends. I’m hoping that it will keep the paint from cracking too.
That little coil of silver hanging from the jig is all I have left. It looks like I might not be able to finish the brazing until I get restocked next month. Maybe Santa will be good to me this year.
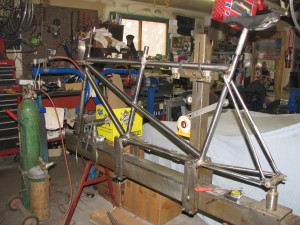
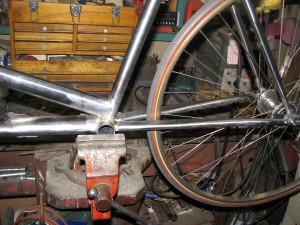
It’s Christmas day. Presents are opened and the belly is full. Life is good.
So, yesterday I finished brazing the remaining main tubes in. I had to mix some Brazage Pro and All-State 45%, which I was told was OK to do. (we’ll see) I’m confident that the joints are structurally fine, but I was being so miserly with the silver that there are a couple “rough” spots in the fillets. I’m torn between leaving well enough alone and going back over the spots to fill with additional material. To get it hot enough to accomplish this is probably not worth the risk of heat damage to the overall structure. Some “filler” primer will make it look fine. Above is the rear BB and chain stays. That’s a 22mm tire shown, we’ll use a 19mm Continental Olympic when it debuts on the track. (220psi for a mere $300 a piece).
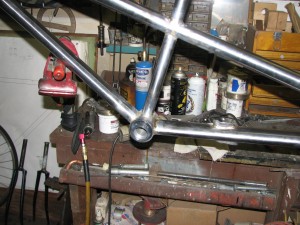
Here’s the front BB and eccentric. The only thing left is to install seat tube binders (2 on each tube) and to split the eccentric shell and add binders to it. Oh, the head tube needs to be trimmed to length and reamed.
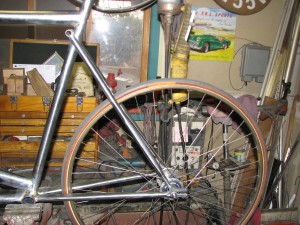
The frame is weighing in at an amazing nine pounds, so I guess I’ll splurge and add a tiny bit of silver smith decoration on the connecting tube between the seat stays. Perhaps a couple nice bits of New Mexico turquoise as I’ve done before. It’s only a few grams, and it makes it oh so regional.
I only have the fork to finish now. I’m definitely out of silver filler, so now I’ll get on the phone and start shopping for some components in the mean time.
The specs so far are: Wheelbase 171 cm; captains seat 57 cm @ 74 degrees and a 63cm top tube; the stokers is a 57.5 seat @ 73 degrees and a 64cm top tube. BB drop is 5.2cm The head tube is 76 degrees with a 40mm fork rake planned.
This is the finished but unpainted frame. Tomorrow I’ll make the silver adornments to doll it up a little. Hope to have the supplies to make the fork soon. I put wheels on it today and stood on the boom tube and it seems to be plenty strong despite the light weight. I would not recommend trying to stand on one of the top tubes though. They are deformable with the thumb and fore finger. Maybe some ” No Step” decals like an airplane are in order.
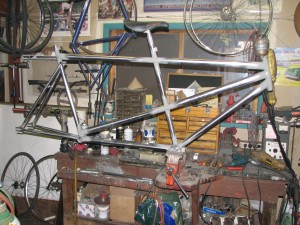
Squirt II
I’m thinking about painting the frame all in a bright silver metallic. But, I’m always open to suggestions…
Here are the two silver cups to hold the turquoise stones which will be brazed on as stay caps. Very New Mexico.

Stay caps
Yesterday, I followed through with the silver decorations. I went a little over board with the head tube badge. It’s my standard “P” with a nice piece of Arizona turquoise in the “hole” of the P and at the base I made little doodads to represent Chamisa plants with some stylized fronds. It’s on there now so love it or hate it.

head tube badge
and here are the turquoise caps on the seat stay connector tube ends.
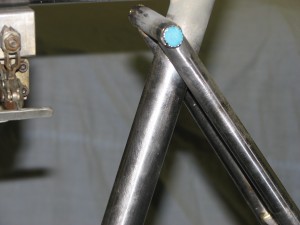
Santa Fe style
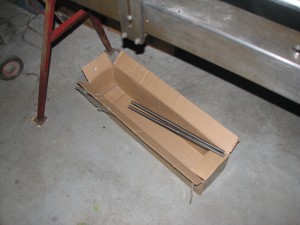
left overs
Oh, oh. I’ve got left overs. To tell the truth, this one was so much fun maybe I’ll do a road version next and save this set of seat stays for it.
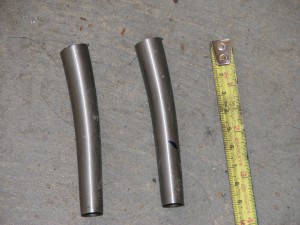
Discarded tips
The forks were a bit of a challenge. The blades are aero shaped and to get the desired length I would have to have cut virtually all the wing shaped ends off. And that shape was the whole point. So to get 40mm of rake I started curving at the distal ends and slowly and carefully moved up the blade. A bit tricky with a non round shape. Anyway, here’s the cut off ends. Needless to say the dropouts fit entirely into the ID of the remaining blades and requires a lot of brass to fill. But, they are nice and beefy there and should handle the tandem weight demands without problem.
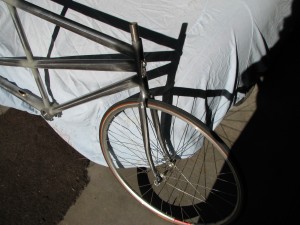
Aero fork
The finished forks.
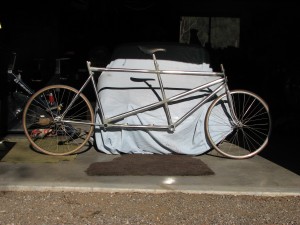
On the ground
A few details left, a little more clean up, headset machining and paint. It’s too long for my new paint booth so I’ll take it to a friends car booth after the New Year holiday. Anyone happen to know if the UCI has a minimum tandem weight? I’m really excited to try this out. Unfortunately I’ll have to wait until the Spring to go up to Colorado Springs.
To be honest, the more I stare at the frame and every time I pick it up I get the feeling in the pit of my stomach that it simply is too light. Now I know that Calfee has a bamboo tandem and there are some damn light Carbon Fiber tandems out there but I still don’t have a warm fuzzy feeling that this will withstand the rigors of the velodrome with two world class athletes aboard. I’m thinking about adding an additional internal lateral to the stoker’s main trapezoid, which will also give an ideal location for an additional set of seat stays. Perhaps I’m jumping the gun as it hasn’t even been ridden around the block yet. Any suggestions??
Well, I chickened out and added another lateral to the frame yesterday. Also added some little 3/16″ SS tubes to the rear triangle. I saw them on one of Pino’s bikes click here: and not knowing of this technique previously I thought I’d give it a try since I was on the fence about this too.
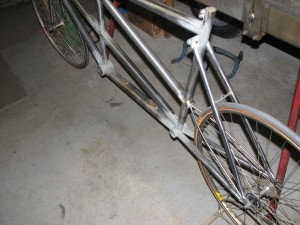
4 more tubes
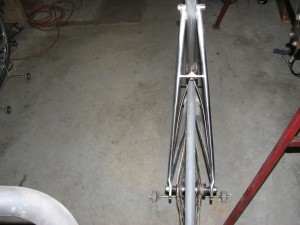
Additional stays are hardly noticeable
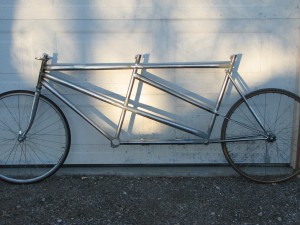
paint and parts next
I was still feeling nervous, so decided to try something new, I think, and radical, I think. So, what do you think?
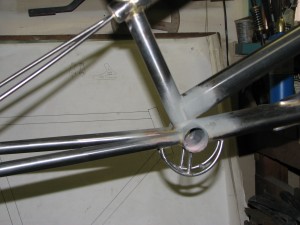
All trussed up and no where to go...yet
I was told that the stokers BB gets four times the stresses of a single frame’s BB. So since this is already bolstered on the top, I thought I’d beef up the under side with this truss like contraption.
I’ve received a fair number of comments on the “mid-stay” tubes usefulness. The jury is still out on that one. Another builder on the “frame-builders” list also pointed out that the curved truss under the BB is a poor design. I knew that, but did not want to spend an inordinate amount of time making miniature lugged spigots to use straight chords. It is a bicycle, after all, not a 7000 HP dragster.
More to come in the coming weeks. The riders need to do some shake down and training rides now that the weather is starting to cooperate.
I haven’t been able to find any real sponsorship from any of my old sources. Used to be they were happy to provide parts in exchange for advertising. Only Shimano was willing, but unfortunately they don’t have the necessary tandem parts. This may have to come all from my own threadbare pockets. Oh well, been there before.
As of right now, we are looking at a date to coincide with the NM Track Championships, June, I think.
As soon as the riders are happy with it I’ll get some paint on it and post those pictures. Should be a handsome tandem, IMO of course.
March 20th, the two prospective riders and I all had our schedules in perfect alignment today and we got to give Squirt II and 20 mile test run.
Well, the bad news is that I can’t go that fast anymore! They could drop me like a rock. The good news is that even with skinny width road bars the captain was very happy with the handling. The Stoker was equally happy that his position was identical to his road bike, except for the bend of his bars. The frame was absolutely rigid and dead quiet. Very cool. Next week we’ll change it to a 49 x 17 gear for better flexibility around town and then work on some position nuances for the guys.
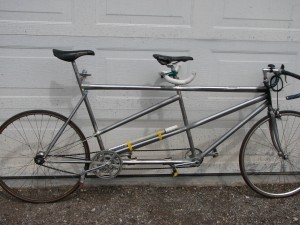
Here’s how it looks for the 1st official test ride.
I was hoping the “truss” was visible on this side but, not really. At any rate, while on the wheel going down the street I asked the guys to stand and sprint for a few revolutions to see if there was any discernible deflection of the rear triangle. I couldn’t accelerate with them for very far and I saw no movement at all. We did the same thing at low speed on steep grades. No flex! I was a happy camper.
Finally decided on a color scheme. Here’s some pictures post paint and decals.
Click on pictures to enlarge.
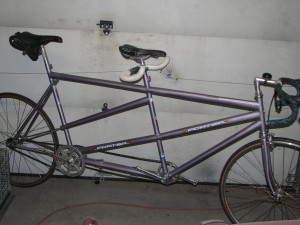
Squirt 2 in paint
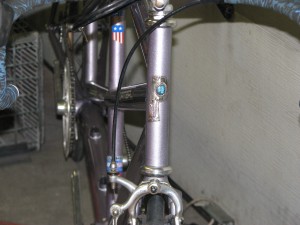
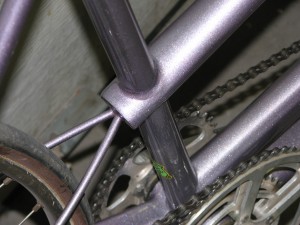
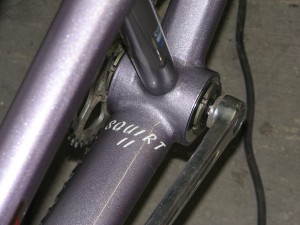

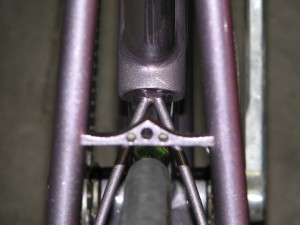
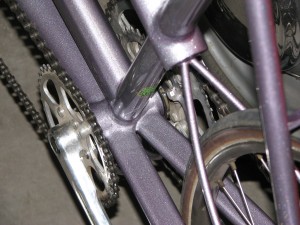
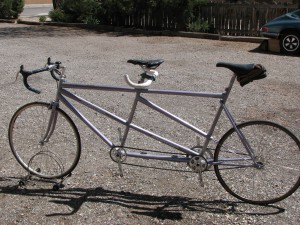

The brake is for around town test rides. The Campy headset and TA cranks make it On Topic for the CR folks, yes?
It’s a Lt. Violet metallic with Silver met. over spray and clear coat. Imron by DuPont.
More to come, check back from time to time and thanks to all the well wishers who have contacted me.
Jump ahead about a year… Frey has contacted me and wants to know if Squirt II is available for the annual Paula Higgins Memorial Record Challenge out in Moriarity New Mexico. I explain that it is currently on consignment sale at the Bike Coop and has been stripped of most of its parts, but sure why not. I need to get it out there in the public eye and also to see how it runs in a competitive setting.
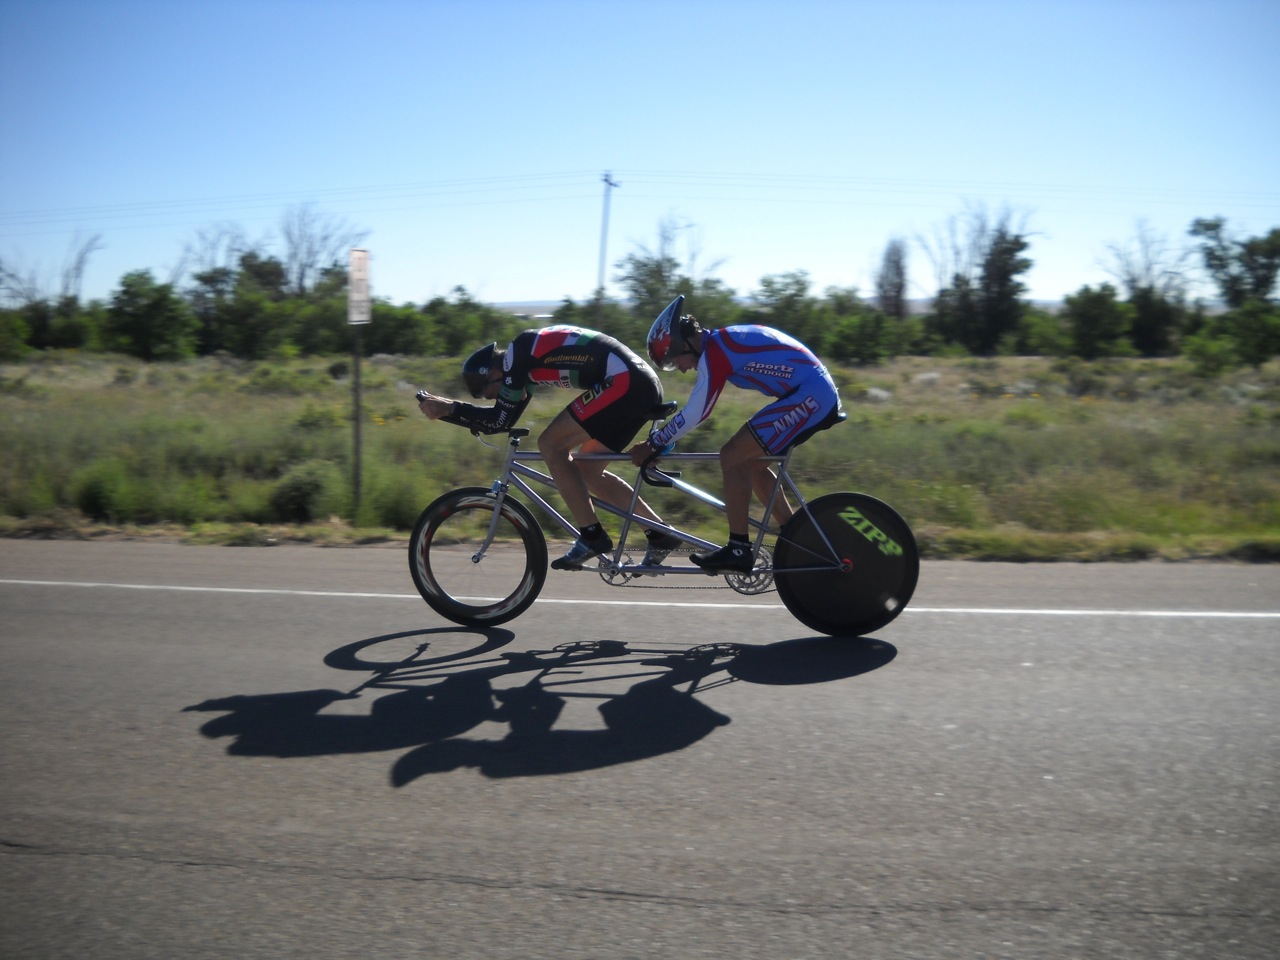
Photo: John Price
Well, the results were pretty good, all things considered.
John picked the bike up on Thursday. Added wheels, seats and what not. Selected a training gear and did a Friday ride with his stoker, who had never ridden a fixed gear before.
Sat. he did another shake down ride with a different stoker and Sun. evening before the event John and Randy did a ride on the actual course.
John did not have the best gear choices, so he went with a 60 x 13 that he used 18 years ago to set the tandem record.
It was unfortunately a crossing headwind out and the same coming back. Their competition were a long standing team of National champs ( I’ll probably brutalize the spelling here, Nico Toutenhoofd and Jim Dickerson.) Who also had a very custom tandem (Dave Tiemeyer) with triple crank set and better suited for a wind hindered ride.
The winners managed a 48 something and my guys were in with a 49 something. John thought that with a bit more training, a better gear, and faster start and turnaround (fixed gear) that they would have beat them… well, perhaps next year eh? http://www.youtube.com/watch?v=th9Xepc72A8
here’s one more picture..